
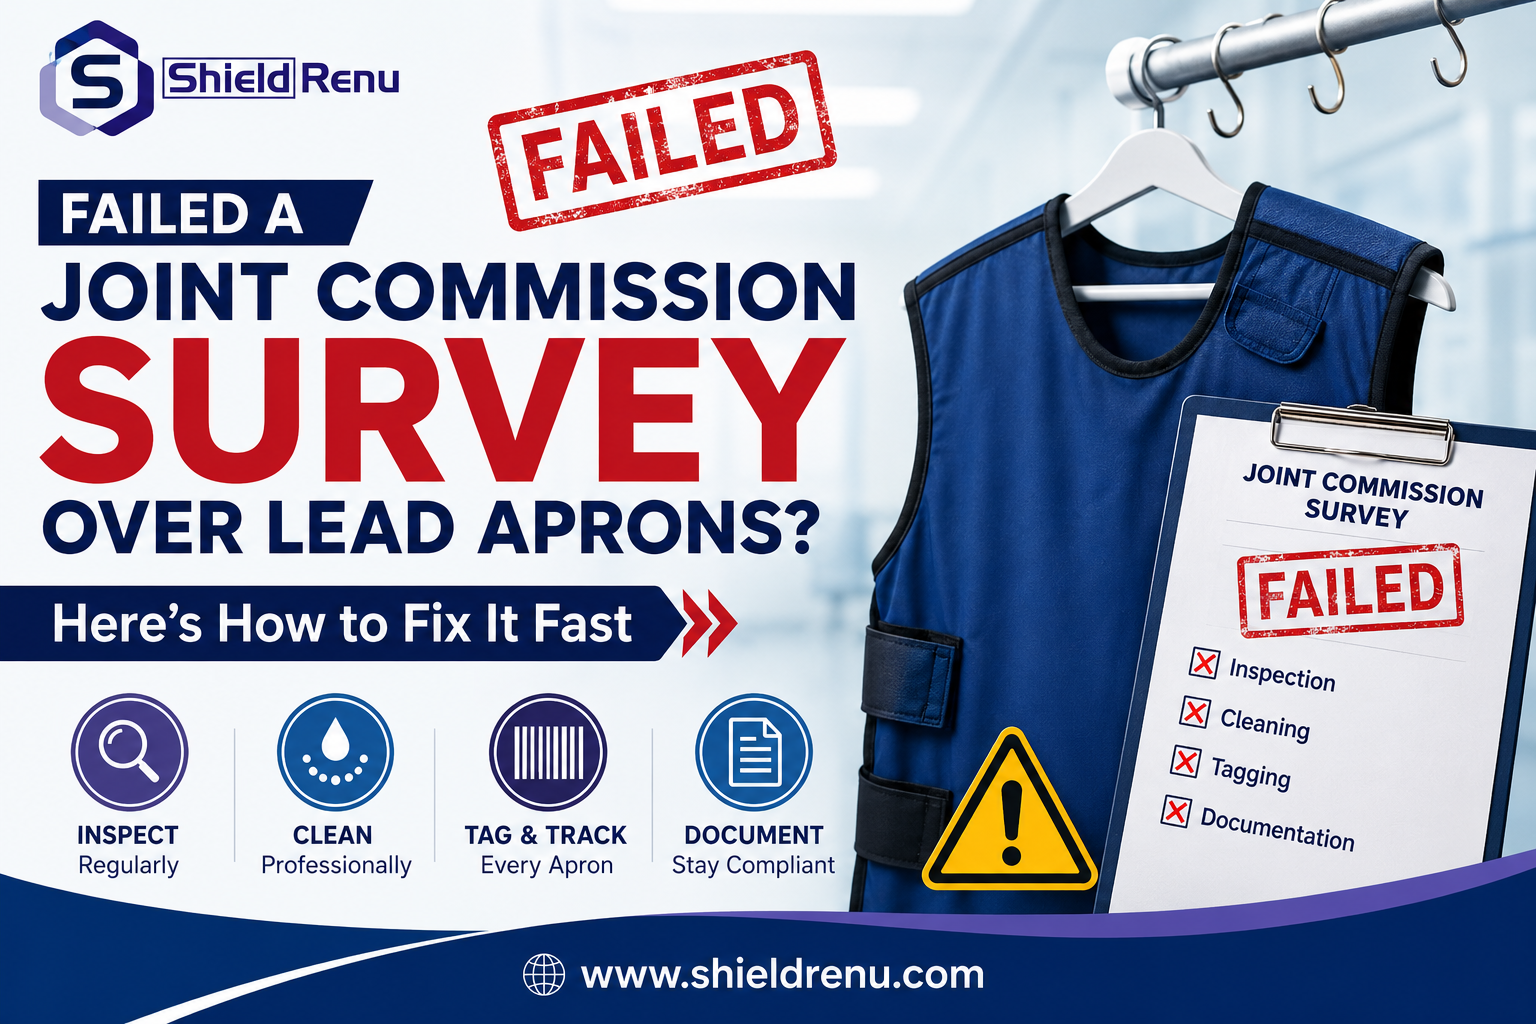
A Joint Commission (TJC) citation for lead apron deficiencies is one of the most common – and most stressful – findings in a radiology survey. Surveyors routinely flag cracked or torn aprons still hanging in exam rooms, missing inspection records, no unique identifiers on individual garments, and aprons folded over chairs instead of stored on proper racks. If your facility just received one of these findings, you’re now working against a corrective action window that’s typically 30 to 60 days, and the surveyor will expect documented, verifiable proof that the problem has been fixed – not just a promise that it will be.
The good news: this is a fixable, well-defined problem. Below is the exact sequence hospitals and imaging centers use to close out a lead apron citation quickly and build a program that won’t fail the next survey either.
Why Lead Aprons Are a Recurring Joint Commission Finding
Lead aprons degrade quietly. Cracks in the lead-vinyl composite often form on the inside layer, invisible to a quick visual check, while still allowing radiation to pass through at the point of damage. Because staff wear the same aprons daily without a formal inspection cadence, deterioration goes unnoticed for months or years – until a surveyor asks for the inspection log and none exists, or asks to see the apron that’s supposed to correspond to a five-year-old record and no one can identify it.
TJC surveyors are typically looking for three things: physical integrity of the garment, a documented and repeatable inspection process, and evidence that damaged equipment is immediately removed from patient-care use. A gap in any one of these is enough to generate a Requirement for Improvement (RFI).
Step 1: Immediate Corrective Actions (Do This Today)
The first 24–48 hours after a citation should focus entirely on stopping the immediate risk, not building the long-term system.
Quarantine damaged gear. Physically pull any apron, thyroid shield, or protective skirt with visible cracks, tears, holes, or delamination out of every clinical area – exam rooms, cath labs, OR suites, mobile imaging carts, and storage closets.
Mark defective items clearly. Tag every removed item “OUT OF SERVICE” in a way that can’t be missed or accidentally reused. A zip-tied tag or brightly colored sticker works; the label should make it physically difficult to put the apron back into rotation.
Perform a 100% audit. Every lead apron, thyroid shield, and protective skirt in the building needs to be located and checked the same day – not a sample, not “the ones we remember.” Surveyors will ask about total inventory counts, and an incomplete audit is itself a red flag.
If your team doesn’t have the internal capacity to X-ray every garment for hidden internal damage on this timeline, a same-day on-site lead apron inspection service that fully X-rays every apron to detect holes, cracks, and hidden defects can compress what would normally take weeks into a single visit, which matters when you’re racing a 30-day clock.
Step 2: Documentation and Testing Fixes
Once the immediate hazard is contained, the survey response shifts to proving a repeatable, auditable process exists.
Create a tracking log with unique IDs. Every apron, shield, and skirt needs its own barcode or ID number – no exceptions, no “shared” IDs across similar items. This is what lets you match a physical garment to its inspection history when a surveyor asks.
Record the core details for every item. At minimum: brand, size, lead equivalence (e.g., 0.5mm Pb), date placed in service, and current storage location. Missing lead equivalence data is a common secondary finding even when the apron itself passes inspection.
Schedule mandatory annual testing. TJC accepts either full X-ray screening or a documented visual/tactile palpation method, but a full radiographic scan catches internal defects that palpation misses entirely. Whichever method your facility relies on, it needs to be written into policy with a fixed frequency – annual is the common standard, though some states and accrediting bodies require more frequent checks for high-use items.
Getting every apron individually barcoded and cross-referenced against inspection and cleaning history is exactly the gap that trips up most facilities during re-survey – a tagging and inventory system that barcodes every garment and logs it into a tracked system gives you the per-item audit trail a surveyor will specifically ask to see.
Step 3: Policy and Storage Updates
A citation rarely closes on inspection results alone – surveyors also want to see that storage and training practices will prevent the same damage from recurring.
Fix storage methods immediately. Aprons should hang fully extended on wall-mounted or mobile racks. Folding creates permanent creases that accelerate cracking in the lead layer, and leaving aprons on chairs or floors invites both damage and contamination – worth noting given how commonly lead aprons test positive for surface pathogens between cleanings.
Write a clear SOP. Document who is responsible for inspections, how often they occur, what the “out of service” process looks like, and who owns the inventory log. This document is often the single item a surveyor requests first during a follow-up visit.
Train the team. A short, focused session on how to visually spot cracks and tears, how to store aprons correctly, and how to report a damaged item closes the loop. Staff who know what to look for catch problems between annual inspections – the most common time damage goes undetected.
Building a Program That Won’t Fail Next Time
A one-time fix satisfies the immediate corrective action window, but the facilities that never see a repeat citation are the ones that turn this into a standing, low-effort process rather than an annual scramble. That typically means combining inspection, cleaning, and inventory into one recurring visit instead of three separate vendor relationships and three separate paper trails.
Comprehensive medical radiation shielding services that handle inspection, cleaning, and tagging together – rather than as disconnected tasks – make it far easier to keep the documentation trail intact between surveys, since every action lives in one system instead of scattered spreadsheets and manila folders.
Cleaning is also worth folding into the same visit: lead aprons are shared, rarely laundered, and frequently test positive for bacterial and fungal contamination, which surveyors increasingly ask about alongside physical integrity. A hospital-grade lead apron cleaning process performed at the same time as the inspection means you’re not scheduling a separate vendor visit just to address infection control.
The 30–60 Day Timeline, Summarized
| Timeframe | Action |
| Day 1–2 | Quarantine and tag all damaged aprons; begin 100% facility audit |
| Day 3–10 | Complete full inventory count; assign unique IDs to every item |
| Day 10–20 | X-ray or palpation testing of all remaining in-service aprons |
| Day 20–35 | Finalize SOP, storage fixes, and staff training documentation |
| Day 35–60 | Submit evidence of correction to TJC; schedule next annual cycle |
Facilities that outsource the inspection and tagging work to a dedicated service typically compress the middle stages of this timeline dramatically, since a same-day on-site visit replaces what would otherwise take weeks of internal staff time.
Ready to close out your citation without pulling staff off the floor? Explore our lead apron inspection services, our tagging and inventory system, and our professional lead apron cleaning – or browse more compliance guidance on the Shield Renu blog.
Frequently Asked Questions
1. How long do we have to fix a lead apron citation after a Joint Commission survey?
Joint Commission typically requires an Evidence of Standards Compliance (ESC) submission within 45–60 days of the survey, though the exact window depends on the severity of the finding. Immediate hazards, like a damaged apron actively in clinical use, should be corrected the same day the citation is issued, not held until the ESC deadline.
2. What counts as “damaged” enough to pull a lead apron from service?
Any visible crack, tear, hole, or delamination on the surface disqualifies an apron from clinical use. Because internal damage to the lead-vinyl layer isn’t always visible or detectable by touch, facilities increasingly rely on full X-ray screening rather than visual/tactile checks alone to catch defects that a hands-on inspection would miss.
3. Does every lead apron need its own unique ID number?
Yes. Surveyors expect a one-to-one match between a physical garment and its inspection record. A shared or generic ID across multiple aprons of the same size makes it impossible to prove which specific item was tested and when, which is itself flagged as a documentation gap.
4. Can we use visual/tactile inspection instead of X-ray testing?
Visual and tactile palpation is an accepted method under Joint Commission guidance, but it only catches damage that’s visible or physically felt at the surface. Many facilities pair it with periodic full X-ray screening because internal cracking in the lead layer can exist without any surface indication.
5. How often should lead aprons be inspected after the initial correction?
At minimum, annually – this is the standard interval most facilities adopt and the one most commonly referenced during Joint Commission surveys. High-use items, such as aprons in a busy cath lab or interventional suite, are often checked more frequently since wear accumulates faster.

One Response